Posts

Showing posts from March, 2018

DIY Scrunchy

Image
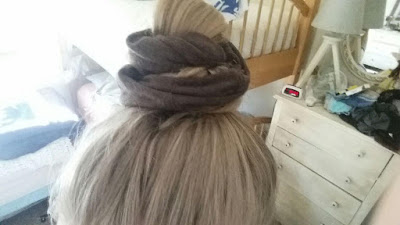
I was so excited to make scrunchies but when I was making them my siblings (who are 90s kids) were not the most excited about the 90s coming in and me wearing it. But I still thought it would be fun to show you guys how to make one. You'll need scissors, fabric (you could use any old fabric. I used an old skirt), ponytail holder, and a needle and thread. First, cut the fabric to at least 3 times bigger than your ponytail. Put the corner of the fabric into the ponytail... And start sewing. Remember to sew on the side that is going to be the back. Once you've sewed all of it turn it inside out. And sew the ends together. And you're done! My favorite way to wear it is in a bun but if you don't know how to wear it come around on Wednesday for some scrunchy hairstyles!

My Top Ten Closet Staples

Image
Everyone has those few items in their closet that are just perfect for your style and fit you nicely. SO I thought I'd share with you my top ten staples and where I got them. Sorry, the pictures aren't the best quality! I found this coral sweater at Goodwill last year and I fell in love with it! I love that I can tie it (which is something I do all the time!). These boots were something that I had wanted for several months but they were just too expensive. But recently I found them at Walmart for five dollars! BTW always check the clearance sections because a lot of my favorite clothes came from there. Here's another trusty Walmart item. Once again we found this in the winter clearance section and this is my all-time favorite sweater! I will say when your shopping at Walmart you need to be careful. Make sure that it isn' polyester or some other synthetic material because those pill like crazy!  Recently I've never been able to find skirts but

Justice League Sign

Image
You'll need a notebook or anything you want to put your sign on, paint, scissors, paint brushes, pencil, and your design.  First, pick out your design and cut it out.  Then, trace the design onto your paper.  Then paint it. Once you've painted the main design paint around it. (it would probably be easier if you painted the background first and the did the main design, but I always forget) I did two colors so it would look a little cooler =) Once the colors meet blend them. And all is left is to fill in the cracks and you're done! This one was a little more sloppy than I normally so here are some other ones I've done.